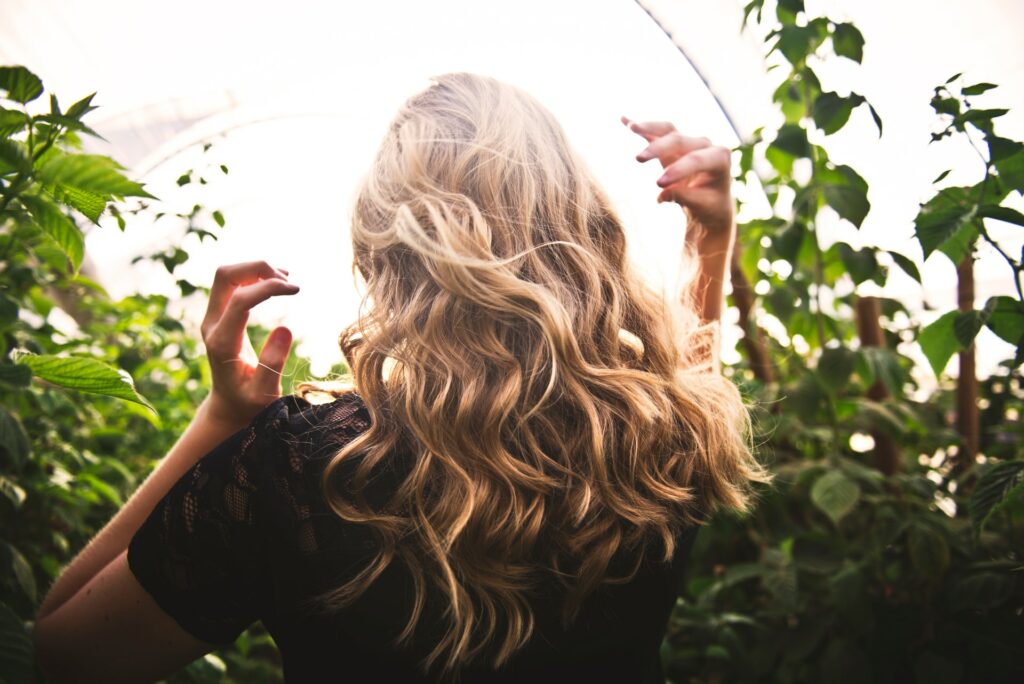
A head of curly hair can be absolutely stunning, big curls or small, natural-looking curls. But if you don’t have curly locks, you might wonder how to curl hair with a straightener. A range of hair curlers on the market specifically for this purpose, but a flat iron can also do the trick.
A hair straightener may seem like an odd choice to curl your hair, but it’s a simple method. The key to curling your hair with a straightener is all in the wrist. Yet, a range of hair curlers still can give you more consistent curls from root to end. But, if you want to know how to curl hair with a straightener, follow these simple steps.

A Step-by-step Guide for Curling Your Hair With a Straightener
You can curl your hair with a straightener if you don’t have a curling iron. It is a great way to change your look for a date or a girls’ night out.
So, here are the steps on how to curl your hair with a straightener.
Step One: Begin With Clean, Dry Hair
If your hair is dirty or greasy, the oil will weigh down your curls and won’t last as long. It’s best to start with washed hair that’s been completely dried. Then, you can either let your hair air dry or blow dry it straight before you start curling.
Also, use a heat protection spray before you begin curling. It will help to prevent heat damage and keep your hair healthy.
Step Two: Create Sections in Your Hair
Start by taking small sections of hair, no wider than the straightener plates. If your sections are too big, you won’t be able to get tight curls. Next, clip the rest of your hair out of the way so it’s not in your way as you work.
If you have long hair, you might need to divide it into two sections. Then, you can curl the bottom half while the top half is clipped away.
Step Three: Wrap Your Hair Around the Straightener
Starting at the roots, wrap your hair around the straightener plates. Make sure to keep the straightener close to your scalp. Then, slowly glide the straightener down the length of your hair until you reach the ends.
Be careful not to leave the straightener in one spot for too long, as this can cause heat damage.
Step Four: Let Go of the Curl
Once you’ve reached the ends of your hair, release the curl by opening the straightener plates. Hold the curl in your hand for a few seconds to allow it to cool and set. But don’t leave it too long, or the curl will start to drop. Instead, put the curl between your fingers and give it a little twist as you release it to help it keep its shape.
Step Five: Repeat With the Rest of Your Hair
Continue taking small sections of hair and curling them until you’ve curled all your hair. You can try different widths of sections and curl sizes to create various looks. Moreover, you can also try curling your hair in different directions for a more natural look.
After curling, run your fingers through your hair to break up the curls and give them a more natural look.
Step Six: Finish With Hairspray
Once you’re done curling your hair, finish with a light layer of hairspray to help hold your curls in place. It makes sure that your beautiful curls will last all day long! Remember to use a light hand, so you don’t have crunchy, stiff hair. You can also get your favorite serum or oil to give your hair a bit of shine.
Enjoy Your New Curls!
Now that you have a step-by-step guide for curling your hair, you can create various looks, from loose beachy waves to tight ringlets. Be sure to take care of your hair by using a heat protection spray and not applying too much heat. With a little practice, you’ll curl your hair like a pro in no time. Remember, the key to perfect curls is all in the wrist. Have fun experimenting with different styles, and enjoy your new gorgeous locks!
So get curling and have fun!
Visit our website for curlers of all types and other hair styling tools!


